
How to Make Vegan Soap Naturally at Home
Choosing skincare that is as kind to the planet as it is to your skin can often feel frustrating, especially when labels seem vague or ingredients mysterious. For those in the United Kingdom who value sustainability and animal welfare, making your own vegan soap is a rewarding path that puts you in control of every element. This guide empowers you to craft nourishing, gift-worthy bars using plant-based, eco-friendly ingredients selected for their positive impact and ethical origins.
Table of Contents
- Step 1: Gather Vegan and Sustainable Soap Ingredients
- Step 2: Prepare Workspace and Essential Soap-Making Tools
- Step 3: Mix Oils and Lye Solution Safely
- Step 4: Blend, Pour, and Shape Your Vegan Soap Mixture
- Step 5: Cure and Test Your Handmade Vegan Soap Bars
Quick Summary
| Key Point | Explanation |
|---|---|
| 1. Choose sustainable ingredients | Prioritise organic, plant-based oils and butters to create eco-friendly vegan soap. This maintains skin nourishment while reducing environmental impact. |
| 2. Ensure workspace safety | Set up a well-ventilated area with safety equipment to protect yourself while handling lye and other materials essential for soap-making. |
| 3. Mix with precision | Carefully weigh ingredients and control temperatures during the lye solution and oil mixing to promote effective saponification and a quality soap consistency. |
| 4. Allow proper curing | Cure soap bars for 4-6 weeks in a well-ventilated area, rotating them periodically to ensure even drying and maximise quality and performance. |
| 5. Test final product thoroughly | Conduct performance tests on the soap bars to ensure they are hard, have stable foam, and are compatible with skin, guaranteeing a high-quality end product. |
Step 1: Gather Vegan and Sustainable Soap Ingredients
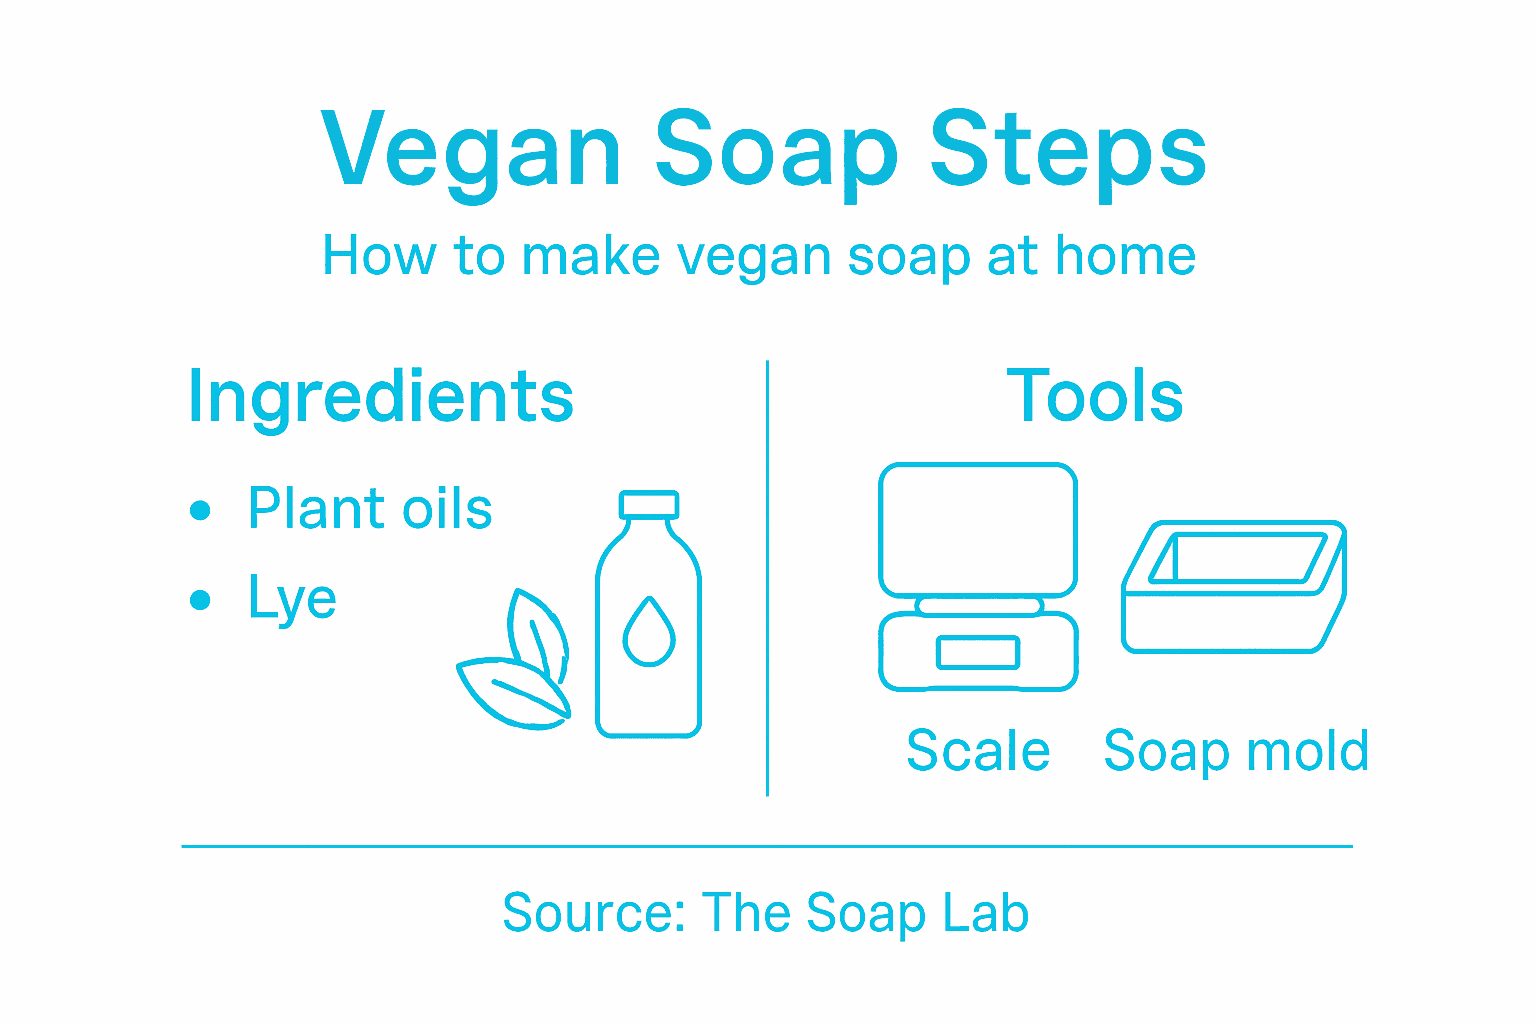
Making vegan soap starts with carefully selecting plant-based, environmentally conscious ingredients that nourish your skin while minimising ecological impact. Sustainable ingredient selection requires thoughtful consideration of both quality and environmental responsibility.
To create a truly vegan soap, you’ll need to source plant-derived oils and butters that replace traditional animal-based fats. Your core ingredients will typically include:
- Olive oil: A classic soap-making base with excellent moisturising properties
- Coconut oil: Provides cleansing and hardening characteristics
- Castor oil: Enhances lather and conditioning
- Shea butter: Adds richness and skin-nourishing qualities
When selecting ingredients, prioritise organic, cold-pressed, and unrefined options to maintain maximum nutritional integrity. Biobased soap formulations increasingly focus on utilising waste-derived oils, which helps reduce environmental strain.
Here’s a summary of key benefits for popular vegan soap base oils and butters:
| Ingredient | Skin Benefit | Sustainability Factor |
|---|---|---|
| Olive oil | Deep moisturising | Often organic, widely available |
| Coconut oil | Boosts cleansing | Supports renewable agriculture |
| Castor oil | Enhances lather | Waste by-product utilisation |
| Shea butter | Adds rich nourishment | Harvested with minimal land use |
Sustainable soap making isn’t just about ingredients - it’s a commitment to ethical, environmentally conscious crafting.
Additionally, you’ll require sodium hydroxide (lye) as a crucial saponification agent. Always purchase food-grade or cosmetic-grade lye to ensure purity and safety. Safety equipment like protective goggles, gloves, and a well-ventilated workspace are non-negotiable when handling lye.
Pro tip: Source your oils from local producers or sustainable suppliers to further reduce your environmental footprint and support community agriculture.
Step 2: Prepare Workspace and Essential Soap-Making Tools
Creating handmade vegan soap requires a carefully organised workspace and specific tools to ensure safety and precision. Comprehensive soap-making workspace preparation demands meticulous attention to detail and safety protocols.
Your soap-making setup will need several critical components:
- Accurate digital scale: Precisely measure ingredients
- Stainless steel mixing bowls: Prevent chemical reactions
- Immersion blender: Create smooth soap mixture
- Thermometer: Monitor ingredient temperatures
- Safety equipment: Protective gloves, goggles, long-sleeved clothing
- Silicone moulds: Shape your finished soap
- Baking paper: Line moulds for easy soap removal
Choose a workspace with excellent ventilation, preferably near a window or with an extractor fan. Cover your work surface with a protective layer like plastic sheeting or newspaper to manage potential spills and make cleaning easier.
Creating a safe soap-making environment is just as important as the ingredients themselves.
Arrange your tools within easy reach, ensuring you can move smoothly between different stages of soap production. Keep a separate area for your lye preparation, away from food preparation surfaces, and always work in a calm, uncluttered space.
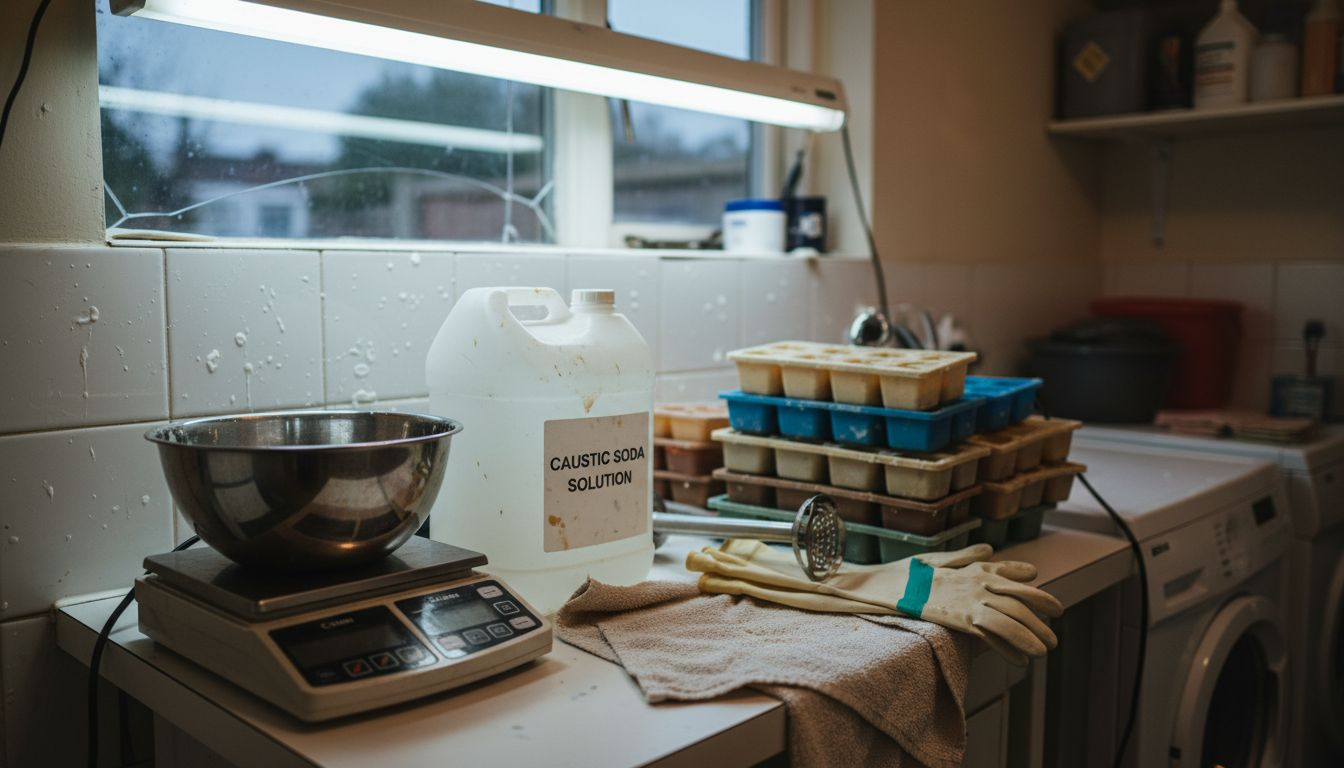
Pro tip: Invest in dedicated soap-making tools that you never use for food preparation to prevent cross-contamination and maintain strict safety standards.
Step 3: Mix Oils and Lye Solution Safely
Crafting vegan soap requires precise and careful mixing of oils and lye solution, a process that demands both scientific accuracy and meticulous safety precautions. Safe lye solution preparation involves understanding the critical chemical interactions between your ingredients.
Before combining ingredients, you’ll need to follow these crucial steps:
- Weigh ingredients precisely using a digital scale
- Check temperatures of oils and lye solution
- Wear full protective gear: Goggles, long gloves, and an apron
- Prepare your workspace with absorbent materials nearby
- Use stainless steel or heat-resistant plastic containers
Soap-making safety protocols recommend bringing your oils and lye solution to approximately 43-46 degrees Celsius before mixing. This temperature range ensures optimal saponification and helps create a smooth, well-blended soap mixture.
Precision and patience are your greatest allies when mixing soap ingredients.
When you’re ready to combine solutions, always add lye to water - never water to lye - and mix in a well-ventilated area. Pour the lye solution slowly into your prepared oils, using an immersion blender to create a consistent emulsion called trace.
Pro tip: Keep a bottle of white vinegar nearby to neutralise any accidental lye splashes and protect your skin from potential chemical burns.
Step 4: Blend, Pour, and Shape Your Vegan Soap Mixture
Transforming your carefully prepared ingredients into beautifully crafted soap requires precision and patience. Biobased soap blending techniques involve understanding the delicate process of creating a smooth, consistent mixture.
As you begin blending, watch for these critical stages:
- Recognise the trace stage: When mixture thickens like runny custard
- Add optional ingredients: Essential oils, dried herbs, natural colourants
- Work quickly but carefully: Soap mixture will continue to harden
- Choose sustainable moulding options: Wooden or silicone moulds preferred
Eco-friendly soap pouring methods suggest using steady, controlled movements when transferring your soap mixture. Pour slowly into your prepared mould, tapping gently to release any trapped air bubbles and ensure an even distribution.
Consistency is key when transforming liquid ingredients into solid soap bars.
Once poured, cover your mould with a towel to help the saponification process and maintain a stable temperature. Allow the soap to rest and begin hardening, which typically takes 24-48 hours before you can remove it from the mould.
Pro tip: Line your soap mould with parchment paper for effortless soap removal and a cleaner, more professional finish.
Step 5: Cure and Test Your Handmade Vegan Soap Bars
The final stage of soap-making transforms your carefully crafted mixture into refined, high-quality bars through a patient curing process. Soap bar durability testing involves understanding the critical chemical changes that occur during maturation.
Your soap curing process requires careful attention to several key elements:
- Store bars in well-ventilated area
- Place on breathable rack: Ensures even air circulation
- Keep away from direct sunlight
- Rotate bars periodically: Promotes uniform drying
- Allow 4-6 weeks curing time
Herbal soap formulation techniques recommend monitoring your soap’s performance through systematic testing. Check for:
- Hardness level
- Foam stability
- Skin compatibility
- pH neutrality
Patience during curing transforms good soap into exceptional soap.
Test a small section by gently washing your hands, observing lather quality, skin feel, and potential irritation. Your handmade vegan soap should feel smooth, produce consistent foam, and leave your skin feeling soft and nourished.
For quick reference, here is a comparison of soap curing impacts on final product quality:
| Curing Factor | Effect on Soap Bar | Example Recommendation |
|---|---|---|
| Airflow | Prevents damp spots | Use open wire racks |
| Curing duration | Improves hardness and feel | Minimum 4–6 weeks |
| Light exposure | Preserves colour and scent | Store out of sunlight |
| Bar rotation | Ensures even drying | Turn bars weekly |
Pro tip: Mark your soap bars with the date of creation to track precise curing times and maintain a consistent production record.
Discover Ethical Beauty with Handmade Vegan Soaps and Organic Personal Care
Creating vegan soap naturally at home means carefully choosing pure, plant-based ingredients and embracing sustainable crafting practices. If you seek to elevate your self-care routine while honouring environmental responsibility, explore the exquisite selection of Organic Personal Care Products – The Soap Lab Scotland. Our range features ethically sourced, nourishing soaps crafted to perfection for those who value quality and conscious skincare.
Embrace the benefits of natural beauty with products that reflect your values. Visit The Soap Lab now to find vegan soaps and plant-powered skincare essentials that transform your daily routine into an expression of sustainability and care. Start your journey today and experience the difference craftsmanship and pure ingredients can make.
Frequently Asked Questions
How do I choose sustainable ingredients for my vegan soap?
Choosing sustainable ingredients involves selecting plant-based oils and butters that are organic and minimally processed. Look for options like olive oil, coconut oil, castor oil, and shea butter, ensuring they are sourced from environmentally conscious suppliers.
What safety precautions should I take when making vegan soap?
When making vegan soap, always wear protective goggles, gloves, and long-sleeved clothing to prevent contact with lye. Set up your workspace in a well-ventilated area and keep all your tools and ingredients organised to maintain safety and ensure a smooth process.
How long should I let my vegan soap cure?
Allow your handmade vegan soap to cure for at least 4 to 6 weeks to ensure it hardens properly and develops optimal qualities. During this period, store the bars in a well-ventilated area and occasionally rotate them to promote even drying.
What should I do if my soap mixture doesn’t reach trace?
If your soap mixture doesn’t reach trace, continue blending with an immersion blender until it thickens to a custard-like consistency. Be patient, as this may take longer than expected; it’s vital for ensuring that the lye and oils properly emulsify for effective saponification.
Can I add essential oils to my vegan soap, and when should I do it?
Yes, you can add essential oils for fragrance and additional skin benefits, but do so during the blending stage after your mixture reaches trace. Start with about 5-10% of your total oils for scent, and remember that a little goes a long way.
How can I improve the texture and lather of my vegan soap?
To enhance the texture and lather of your vegan soap, incorporate castor oil, which promotes excellent lathering. Aim for a recipe ratio that includes about 5-10% of castor oil in your total oils to achieve a rich foam.

